New Compatibility: Solarbank Works with Solarbank 2 Pro/Plus
Share
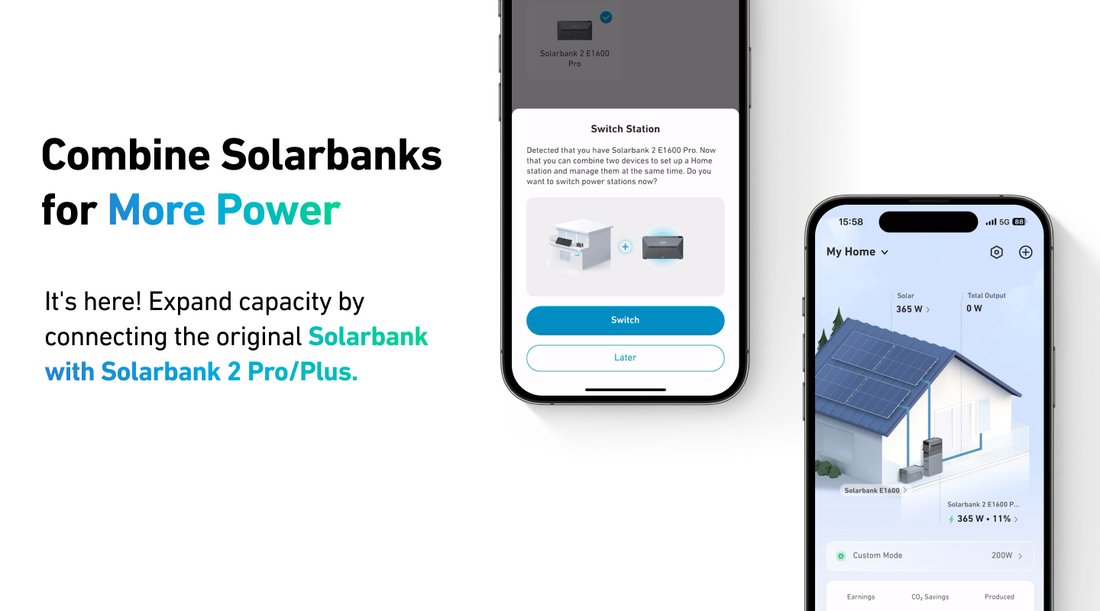
The long wait is over, Solarbank users. You can now connect the first generation to Solarbank 2 Pro/Plus for supplemental battery storage.
Here's how to set it up:
How to Create the System
Step 1: Connect Your Solarbanks
- Use the AC cable included with Solarbank 2 Pro/Plus to connect Solarbank 2 Pro/Plus's AC grid output to your home AC socket.
- Locate the PV connectors for Solarbank (Gen 1). They were included in the Solarbank package. Connect two solar panels to Solarbank's (Gen 1) two PV input ports.
- Find the solar panel extension cable included in Solarbank 2 Pro/Plus's package. Connect Solarbank (Gen 1)'s output port to Solarbank 2 Pro/Plus's input port.
- Connect the remaining solar panels one at a time to each input terminal on Solarbank 2 Pro/Plus.
⚠️ Caution: Never connect the solar panels in series. Do not use the original Solarbank Y-cable to connect to Solarbank 2 Pro/Plus's input ports. Either of these connections may damage Solarbank 2 Pro/Plus.
Step 2: Set Up the System on the App
Before starting, update your app to the latest version (v3.3.2 or later). Also, update Solarbank E1600 (Gen 1) firmware to the latest version (v2.0.9 or later).
Please read on for the next steps:
- Add new device
- Tap the settings icon in the upper right of the app. Select Manage Device.
- Select Add Solarbank 2 E1600 Pro/Plus.
- Confirm the device and ensure Solarbank 2 E1600 Pro has been added to the original Solarbank E1600.
- Build a new system
- Choose a Solarbank mode to open its corresponding settings.
- Select the Solarbank operating mode.
- Complete the setup and confirm its integrated into the system. You should see a display in the app.
In this article, Self-Consumption mode was used as an example. We'll explain the effects and advantages of each mode in our next article, and which one is right for you.
Notes:
- Data will be overwritten when you finish building a new system for your home. You cannot access previous data unless you return to the previous home system.
- To view historical data from Solarbank, unbind your new home system and switch back to the previous system.
- Please follow these steps exactly. Do not delete any home systems during the setup.